SINCE THE ARRIVAL of layers in Photoshop 3.0, the application has set on the road to becoming a success story and its use has expanded from a simple photo editing tool into the indispensable design tool that it is today
SINCE THE ARRIVAL of layers in Photoshop 3.0, the application has set on the road to becoming a success story and its use has expanded from a simple photo editing tool into the indispensable design tool that it is today.
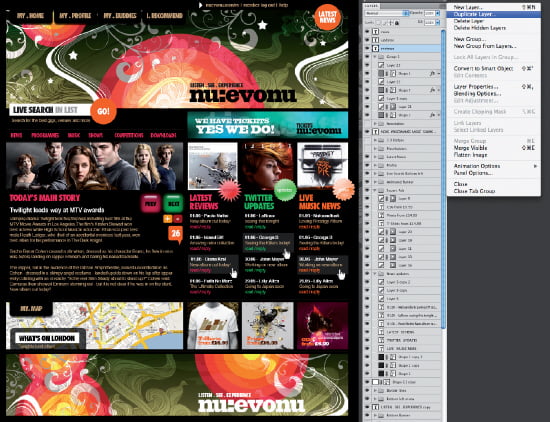
Now we can do complex compositions with ease and do multiple changes to any part of our design. Before we had all this, it was not that easy. If a client wanted to change anything on your proof, you’d be in a situation when you’d need to start again. Today, we can give our elements extra adjustment layers, quick mask, turn them into Smart Vector with Smart Filters, it has become nice and easy to get the results we set to achieve. However, the more the layer, the more the chaos that it can bring. A key to organised workflow lies in mastering the main file you work on. It could be easy to get lost in multiple layers; by being efficient you should avoid the headaches and lost time fishing for the parts of your design, especially in situations when your design is rather elaborate. Furthermore, you have to ensure your file is easy to understand to any person down the line, for example if you work in the team or with developers who transfer your design into working website, how can you do that?
First of all, any new layer should be correctly named as soon as it’s created. Although not always the actual working practice, especially when you’re a spontaneous digital artist, it creates extra work later. Create a new layer by Shift+Cmd+N, put in the right name in the pop-up dialog box. Alternatively, use the icon at the bottom of the Layers palette and double-click to rename. It’s advise to also have a custom shortcut for the Layer properties, where you can also colour-code your layers. There’s an array of colours to choose from, enabling you to assign each type for hidden layers, spare parts or alternative options of each layer. They can play a crucial part in team work, to inform others working remotely in the team which parts of the design have been done and which require attention. If an element is made up of many small parts, simply group them together for easier movement within the document.

When working with layers there a number of rules that should be followed (see below).
Layer Etiquette (Golden Rules)
1) Clear Naming
It’s easy to get carried away with the design work and not naming the layers as you go along. Try to assign shortcut of Shift+Cmd+, for layer properties. Double-clicking the layer in the palette can be a bit annoying and shortcut will become rather intuitive.
2) Arrange Orderly
When you group your layers via Ctrl/Cmd+G, you’ ll benefit from easy stacking and order changes. Also, duplicating whole groups of layers within further documents becomes very simple. This works well with type and filters, when Undo could become rather lengthy. Work on the copy and delete what doesn’t work.
3) Delete Unused
You always have an option to keep the unused layers for backup and later use before you finish the whole site. However, when all is in place and ready to go for the next stages, you can delete all hidden layers by clicking the option in the Layers palette.
4) Switch To Default
Photoshop also makes it easier to switch the Layers view, even working on a large-scale monitor sometimes doesn’t give you enough space to view most of the layers at once. You can change the preferences via Panel Option in Layer Palette.
More Photoshop Tutorials & Techniques
- Introducing the Apple AirTag - July 20, 2023
- Slavish Thinking: غلامانہ سوچ - April 27, 2017
- Android is expected to welcome BBM before October - July 21, 2013
I like the valuable info of photoshop tutorail you provide in your articles. I will bookmark your blog and check again here regularly. I am quite certain I will learn many new stuff right here! Good luck for the next!
Good job, wonderful post.
we like what you guys have wrote here. keep up the super promos!
I do agree with all of the ideas you have presented in your post. They’re very convincing and will certainly work. Still, the posts are too short for starters. Could you please extend them a little from next time? Thanks for the post.